Verify your email
Hi Johny, to view the full content, please verify your email address by clicking the link sent to youremail@gmail.com
Resend Verification Email
Build a motorized thaumatrope - a spinning disc that merges two drawings into one optical illusion. Learners design image pairs, assemble a battery-powered spinner, and discover firsthand how their brain can be tricked into seeing something that isn’t actually there.
Get the materials that pair with this educator guide.
Get the materials that pair with this educator guide.
Quick Start gets the main resources in hand. The guide below helps with the decisions that happen before, during, and after students build.
What students build and how the activity works.
Prep questions and pro tips.
Classroom sequence and prompts.
Learning goals and curriculum connections.
Fixes, adaptations, and extensions.
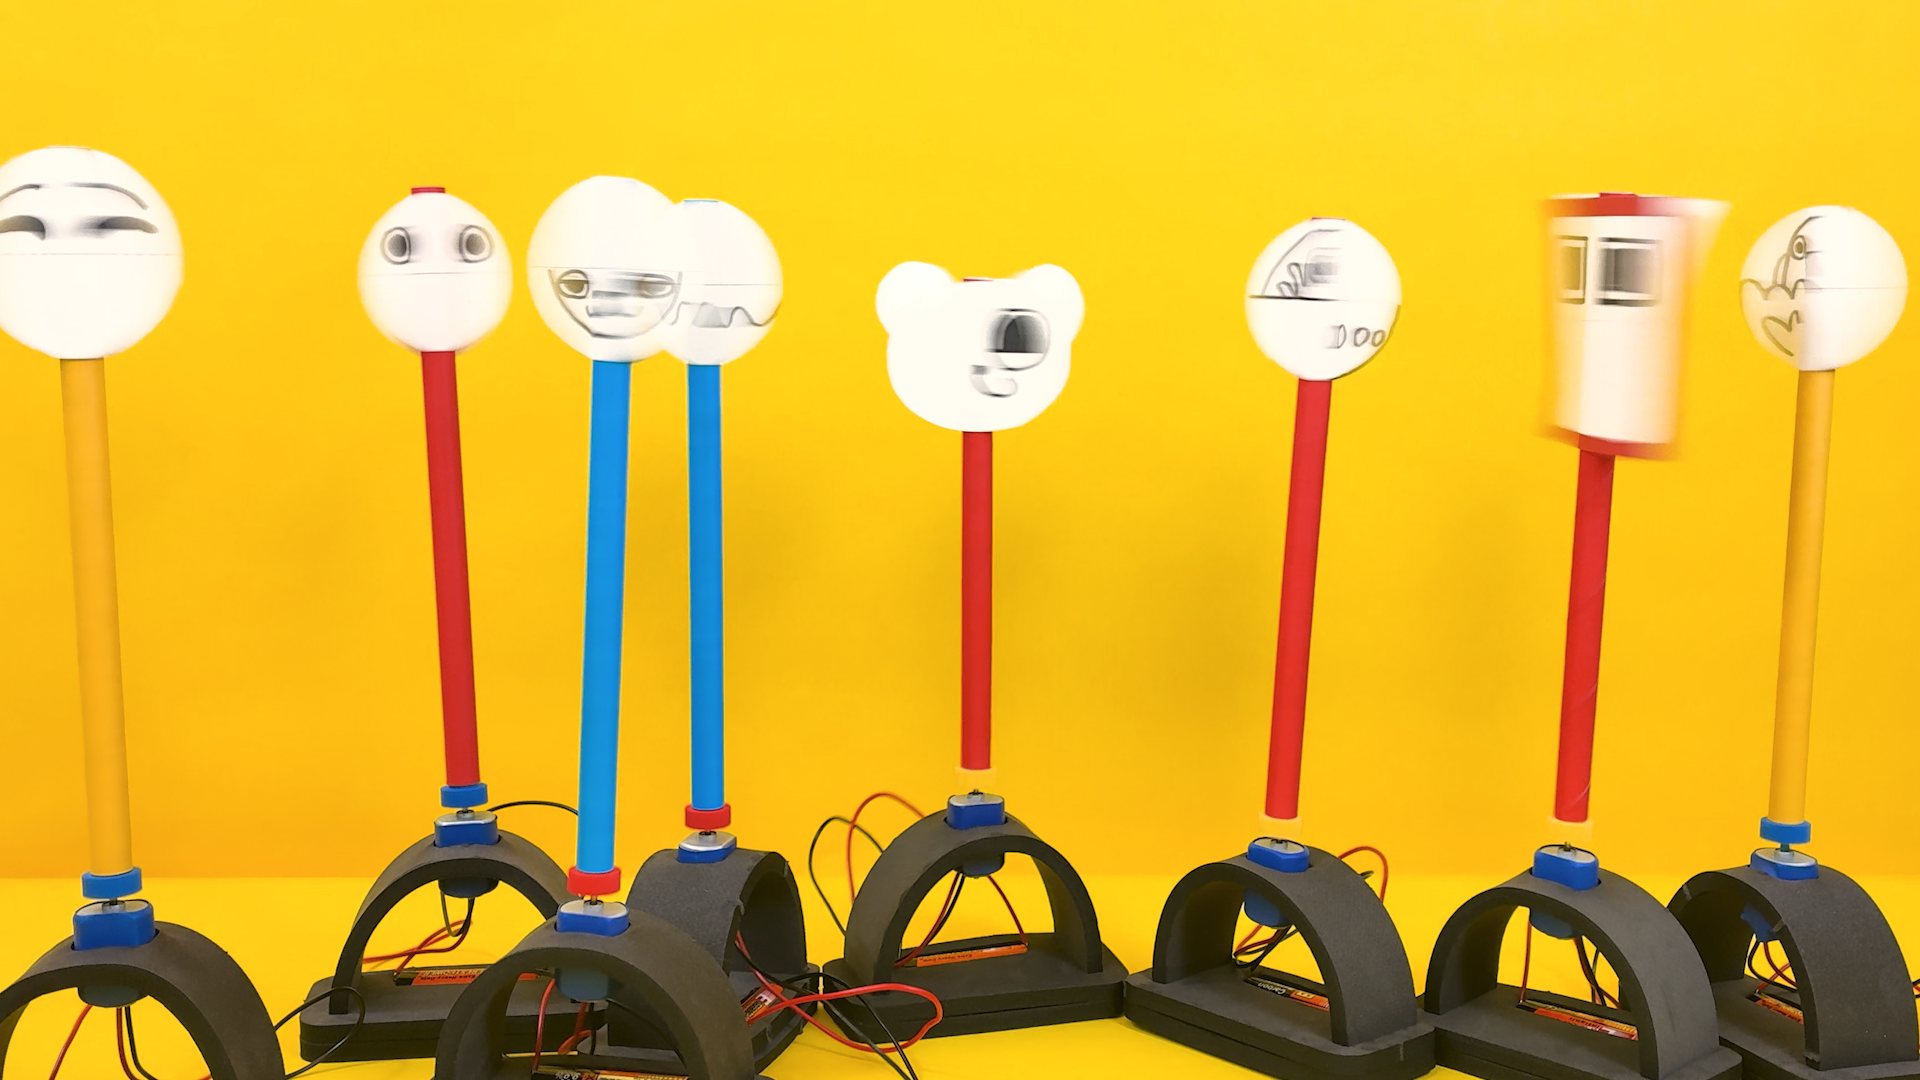
Eyelusions delivers a complete motorized thaumatrope that learners assemble and design from scratch. Using foam components, a DC motor, and an AA battery, they build a working spinner, then draw split images across two stickers - choosing their own challenge level from the “spice scale”: top-and-bottom (mild), left-and-right (medium), or opposite-corners (spiciest). When the tube spins and the wires touch the battery, two pictures become one.
The build moves through nine steps: exploring kit components, assembling the foam base, installing the motor, testing the circuit, planning a design on the practice sheet, drawing on stickers, attaching stickers to the tube, connecting the tube to the motor, and spinning to see the illusion come to life - with an Iterate step inviting new designs. A printable practice/design sheet lets learners experiment freely with image-splitting ideas before committing to stickers, making mistakes a built-in part of the process.
Once their first illusion works, learners have two more sets of stickers ready to go - plus the option to use sticky notes or cut-out practice-sheet drawings for even bigger, more inventive illusions. A standout extension is the collaborative challenge: one learner draws the top half of an image while a partner draws the bottom half without seeing each other’s work, producing results that are often hilarious and always unique.
Educators must provide: pencils (strongly encouraged for the planning and design steps), markers or crayons (water-based markers recommended - darker images are more visible when spinning), and scissors (needed for trimming a mushed tube end and for cutting practice-sheet drawings into extended-design pieces).
Question: What’s in your kit, and what do you think each piece does?
Question: How do the foam pieces fit together to hold the battery in place?
Question: How does the foam hold the motor without any glue or screws?
Question: What makes the motor spin - and does it matter which wire touches which end?
Question: How do you split one image into two pieces that will blend back together when spinning?
Question: How do you get your planned image from the practice sheet onto your stickers?
Question: Does it matter where on the tube each sticker goes?
Question: What happens when the two images start moving faster than your eyes can follow?
Question: Now that you know how it works, what would you do differently - or what new illusion can you create?
RI.K-2.7 – Use illustrations and details to describe key ideas: Learners use the practice sheet and spice scale illustrations to plan their image pairs, connecting visual diagrams of the three splitting strategies (top/bottom, left/right, opposite corners) to the concept of how two halves combine into a single blended picture.
SL.K-2.1 – Participate in collaborative conversations: Learners discuss their sticker design choices with peers during the planning and iteration stages, sharing which spice-scale technique they chose and why, and asking for help from classmates who have a working illusion when their own design doesn’t blend correctly.
RI.3-5.3 – Explain relationships between events or concepts: Learners explain the cause-and-effect relationship between spinning speed and image blending, articulating how the motor’s rotational rate determines whether the brain perceives two separate sticker drawings or one fused optical illusion.
W.3-5.3 – Write narratives to develop experiences: Learners connect the thaumatrope’s history to modern animation and film, writing or discussing the narrative arc from early optical toys (thaumatropes) through cartoons to movies, using the “wonder turner” etymology as a story anchor for how persistence of vision shaped visual storytelling.
RST.6-8.3 – Follow precisely a multistep procedure: Learners execute the nine-step build sequence - from stacking and slotting foam bases through motor installation, wire testing, sticker alignment, and tube attachment - applying precise procedural reading to ensure the connector sits straight and sticker orientation is maintained on both sides of the tube.
SL.6-8.1 – Engage in collaborative discussion: Learners evaluate competing design technique choices with peers, discussing the tradeoffs between mild (top/bottom), medium (left/right), and spiciest (opposite corners) splitting strategies, and citing evidence from their own spinning results to support which approach produced the clearest illusion.
K.G.A.1 – Describe positions and shapes in the environment: Learners identify and describe the circular sticker shape and the relative positions of image halves - above/below the horizontal guideline, left/right of the vertical guideline, or in opposite corners - as they plan their designs on the practice sheet using spatial vocabulary.
K.MD.A.1 – Describe measurable attributes of objects: Learners observe and compare measurable attributes of the spinning disc, noticing differences in how clearly images blend at different spin speeds and discussing which wire-to-battery contact pressure produces steady rotation versus intermittent spinning during the motor test step.
3.G.A.1 – Understand that shapes in different categories may share attributes: Learners analyze the circular sticker as a geometric shape divided by horizontal, vertical, and diagonal guidelines - partitioning the circle into two equal regions and comparing how each splitting strategy (top/bottom, left/right, opposite corners) creates symmetrical halves that serve as mirror-image designs when the thaumatrope spins.
4.OA.C.5 – Generate and analyze a pattern: Learners identify the repeating spatial pattern in each sticker splitting strategy - recognizing that top/bottom, left/right, and diagonal splits are systematic geometric transformations of the same circle - and predict how changing the division axis changes which part of the image appears on each sticker.
6.RP.A.1 – Understand the concept of a ratio: Learners reason about the ratio of spin speed to the persistence-of-vision threshold, understanding that the phi phenomenon only produces a blended image when rotation exceeds approximately 10–12 frames per second, and connecting this ratio to why the DC motor’s fixed speed makes the illusion reliable while hand-spinning is inconsistent.
6.G.A.1 – Find area and solve problems involving geometric figures: Learners apply geometric reasoning to the circular sticker divided by the dotted guidelines, analyzing how each splitting strategy partitions the circle’s area into two complementary regions - halves for top/bottom and left/right splits, and diagonal quadrant pairs for the opposite-corners (spiciest) technique.
K-PS2-1 – Plan and conduct an investigation to compare forces: Learners test the motor by pressing wire ends to battery terminals, directly investigating how electrical contact produces rotational force and observing that reversing the wire connections changes the direction the motor spins, connecting push/pull force concepts to the spinning motion that drives the illusion.
K-2-ETS1-2 – Develop a simple sketch or model to illustrate a solution: Learners use the practice sheet to sketch and refine image pair designs before committing to stickers, treating the planning sheet as an iterative model where mistakes are welcome and multiple approaches (mild, medium, spiciest) can be tested before selecting a final design to transfer.
3-PS2-1 – Investigate the effects of balanced and unbalanced forces on motion: Learners observe how the centered versus off-center placement of the paper tube on the motor connector affects rotational motion, discovering that a misaligned tube causes the entire base to vibrate and wobble across the table, directly demonstrating how unbalanced forces disrupt steady rotation.
3-5-ETS1-3 – Plan and carry out fair tests to identify failure points: Learners iterate through multiple sticker design attempts using the three spice-scale splitting techniques, testing each design by spinning and observing whether the illusion blends correctly, identifying which approach worked and why - and using sticky notes or cut practice sheet drawings when stickers run out to extend their testing.
MS-LS1-8 – Gather and synthesize information that sensory receptors respond to stimuli by sending messages to the brain: Learners investigate how the visual system’s sensory receptors transmit signals to the brain faster than the brain can resolve two distinct images when the thaumatrope spins, modeling the phi phenomenon as the brain’s integration of rapidly alternating visual stimuli into a single perceived image - directly connecting the retina’s response to spinning stimuli to the neural processing that produces the optical illusion.
MS-ETS1-2 – Evaluate competing design solutions using criteria and constraints: Learners compare the three sticker splitting strategies on the spice scale, evaluating each against the criteria of image clarity and the constraint of the circular sticker boundary, using evidence from spinning results to determine which technique (top/bottom, left/right, or opposite corners) best meets the goal of producing a convincing blended illusion.
The metal ends of the motor wires can bend, making it hard to insert them alongside the battery. If this happens, lift the battery up slightly, hold the wire in position against the terminal, and press both the wire and battery down into the foam together.
A small amount of wobble is normal and learners often enjoy watching their machine slowly wiggle across the table. If the vibration is severe, check that the tube is seated straight on the motor connector. Press the connector fully down until it sits secure and centered.
If the end of the paper tube is bent or crushed, it won’t sit squarely on the motor connector. Trim the end straight with scissors to restore a clean, flat edge before reattaching.
If the plastic connector cap comes loose from the motor shaft, place a tiny piece of tape on the motor shaft first, then press the cap back on firmly. The tape adds friction and holds the cap in place during spinning.
If the wires are touching the correct battery terminals but the motor isn’t running, check whether the motor has shifted out of its holder. The foam strip grips the motor body - if the motor has slid, reseat it so it fits snugly, then retest.