


Robotic Linkages with Servos

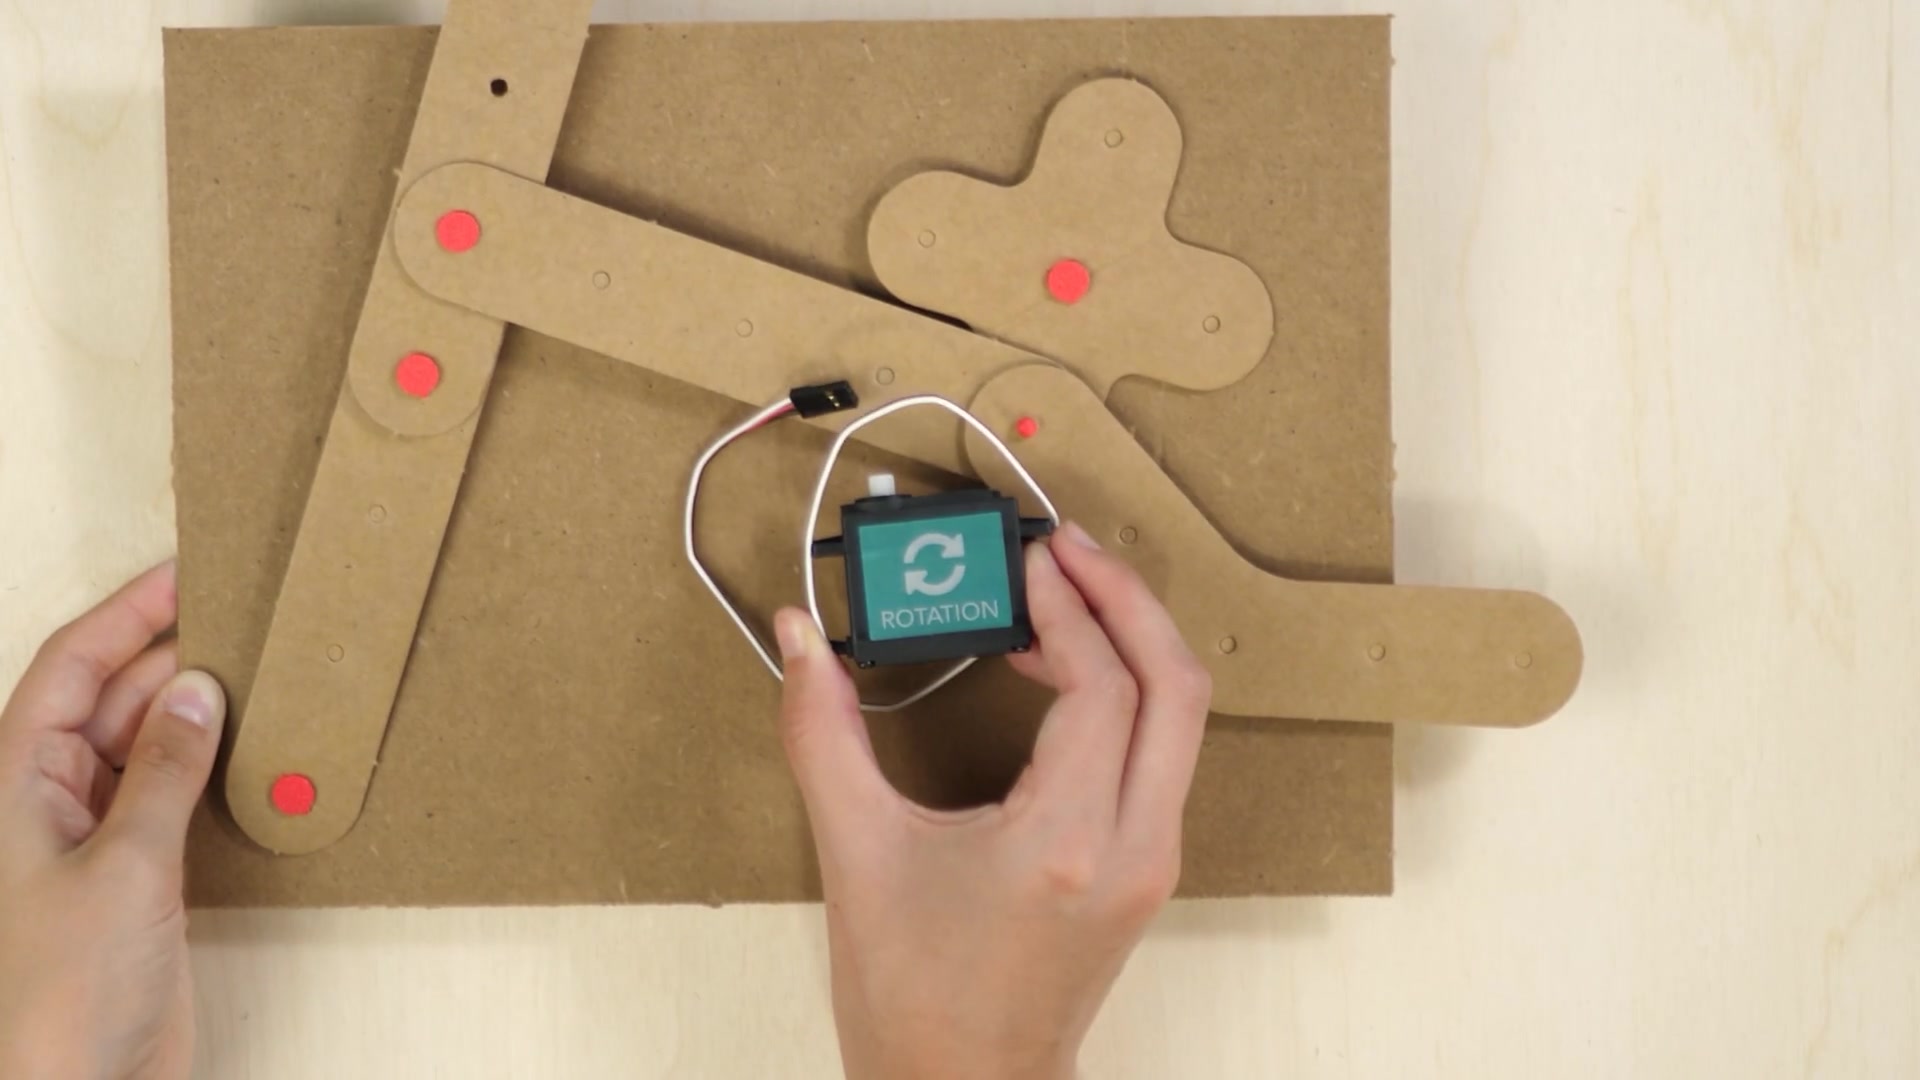
We're always looking for curious new ways to activate the bits and bobs from our Sparks catalog. Since we started offering packs of components in our store, educators have been asking how to use them with their learners. Here is one we're excited about.
Linkages on their own are a fantastic platform for creating stories with moving components. Take a look at the examples we've built in our educator guides, and our educator video is a really great place to get started with the four basic linkage types.
The four basic linkage types
- Reverse motion. A sideways push-pull.
- Bell crank. Transfers motion around a right angle.
- Parallel motion. Moves vertically and horizontally at once.
- Scissor. Extends and retracts.
Each one sends push-and-pull force in a different direction. Pick the one that matches the motion your story needs.
So what happens when you motorize them?
We happen to have a few Hummingbird kits from Birdbrain, and we've been using the BBC micro:bit along with the Birdbrain platform to drive rotational servos and servos that sweep. That combination is what makes a story come alive.
Here are the four steps we take to build a motorized linkage scene machine. The videos have no narration, so the written steps carry the detail.
Step 1. Design the scene and make it go by hand
Build the scene first, without the motor. Make it go before you even start thinking about where a servo would be installed. If the mechanism doesn't work with a hand crank, adding a servo won't rescue it.
Step 2. Add the printed connectors and servo mounts
We designed custom connectors and servo mounts that you can print yourself, and you can download them for free right here. Quickly printable clips and connectors make attaching a servo easy. Mark your holes, punch them, and the printed clip holds the servo in place.
Step 3. Match the servo horn to your linkage board
We've made custom servo horns designed to match our specific linkage boards. They are not in the store yet, but the printable mounts in the download above will get a standard horn onto the board.
Step 4. Swap the servo in where the hand crank was
Once the servo is attached, integrate it into the same mechanism where you had the hand-cranked rotational part. Now that part is servo-driven instead. You can watch both of these steps happen in the video below, ending with the linkage running off the Hummingbird board and battery pack.
Design the story first
Figure out what your scene actually does before you wire up any power. In our example we made a cowboy ride across the Wild West, using a rocking movement with a set of cams and a cam and follower. Here is the scene coming together, with the servo tucked away behind the scenery.
Download the printables
Get the servo mounts, clips and connectors you saw in the videos.
If you'd like to get yourself connectors or linkage packs, you can find them in our store under component packs. The two are built to go together.
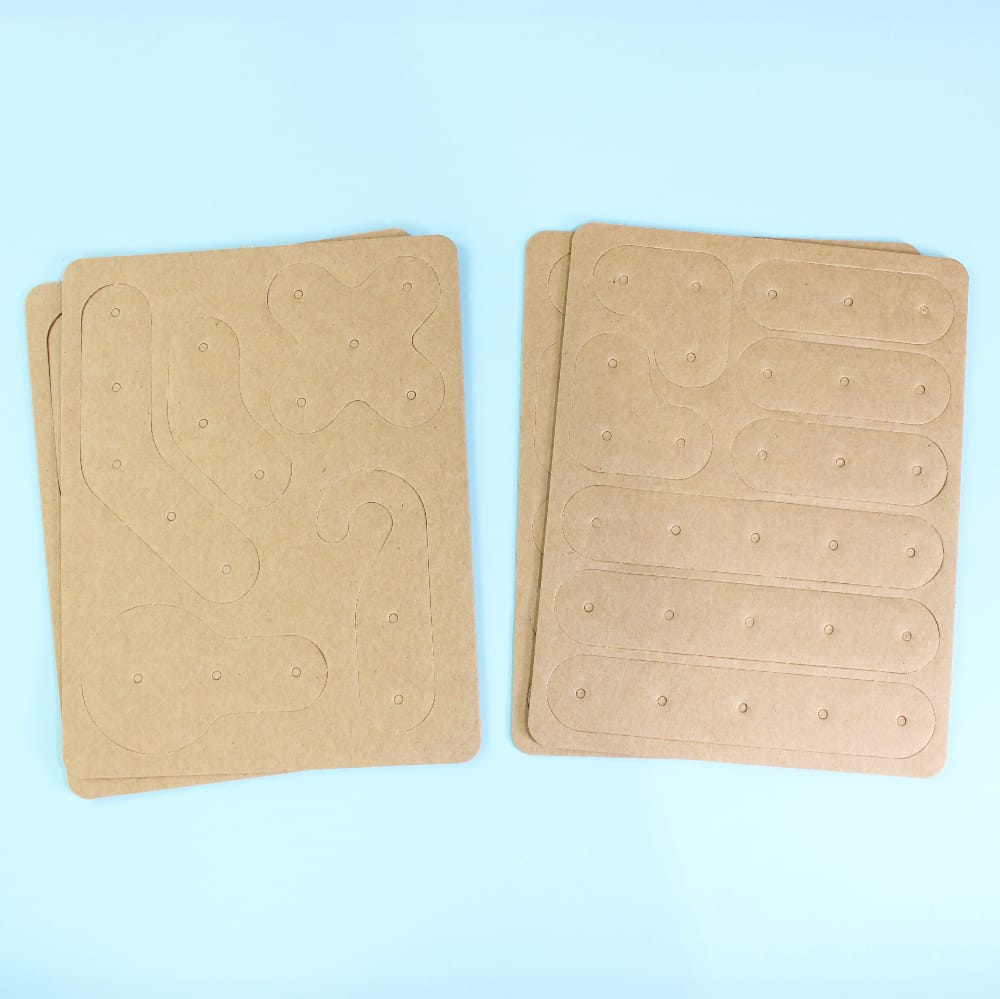 Linkage Levers & Shapes Pack. Lever boards and shaped pieces for exploring linked motion, pivots, angles and mechanical pathways.
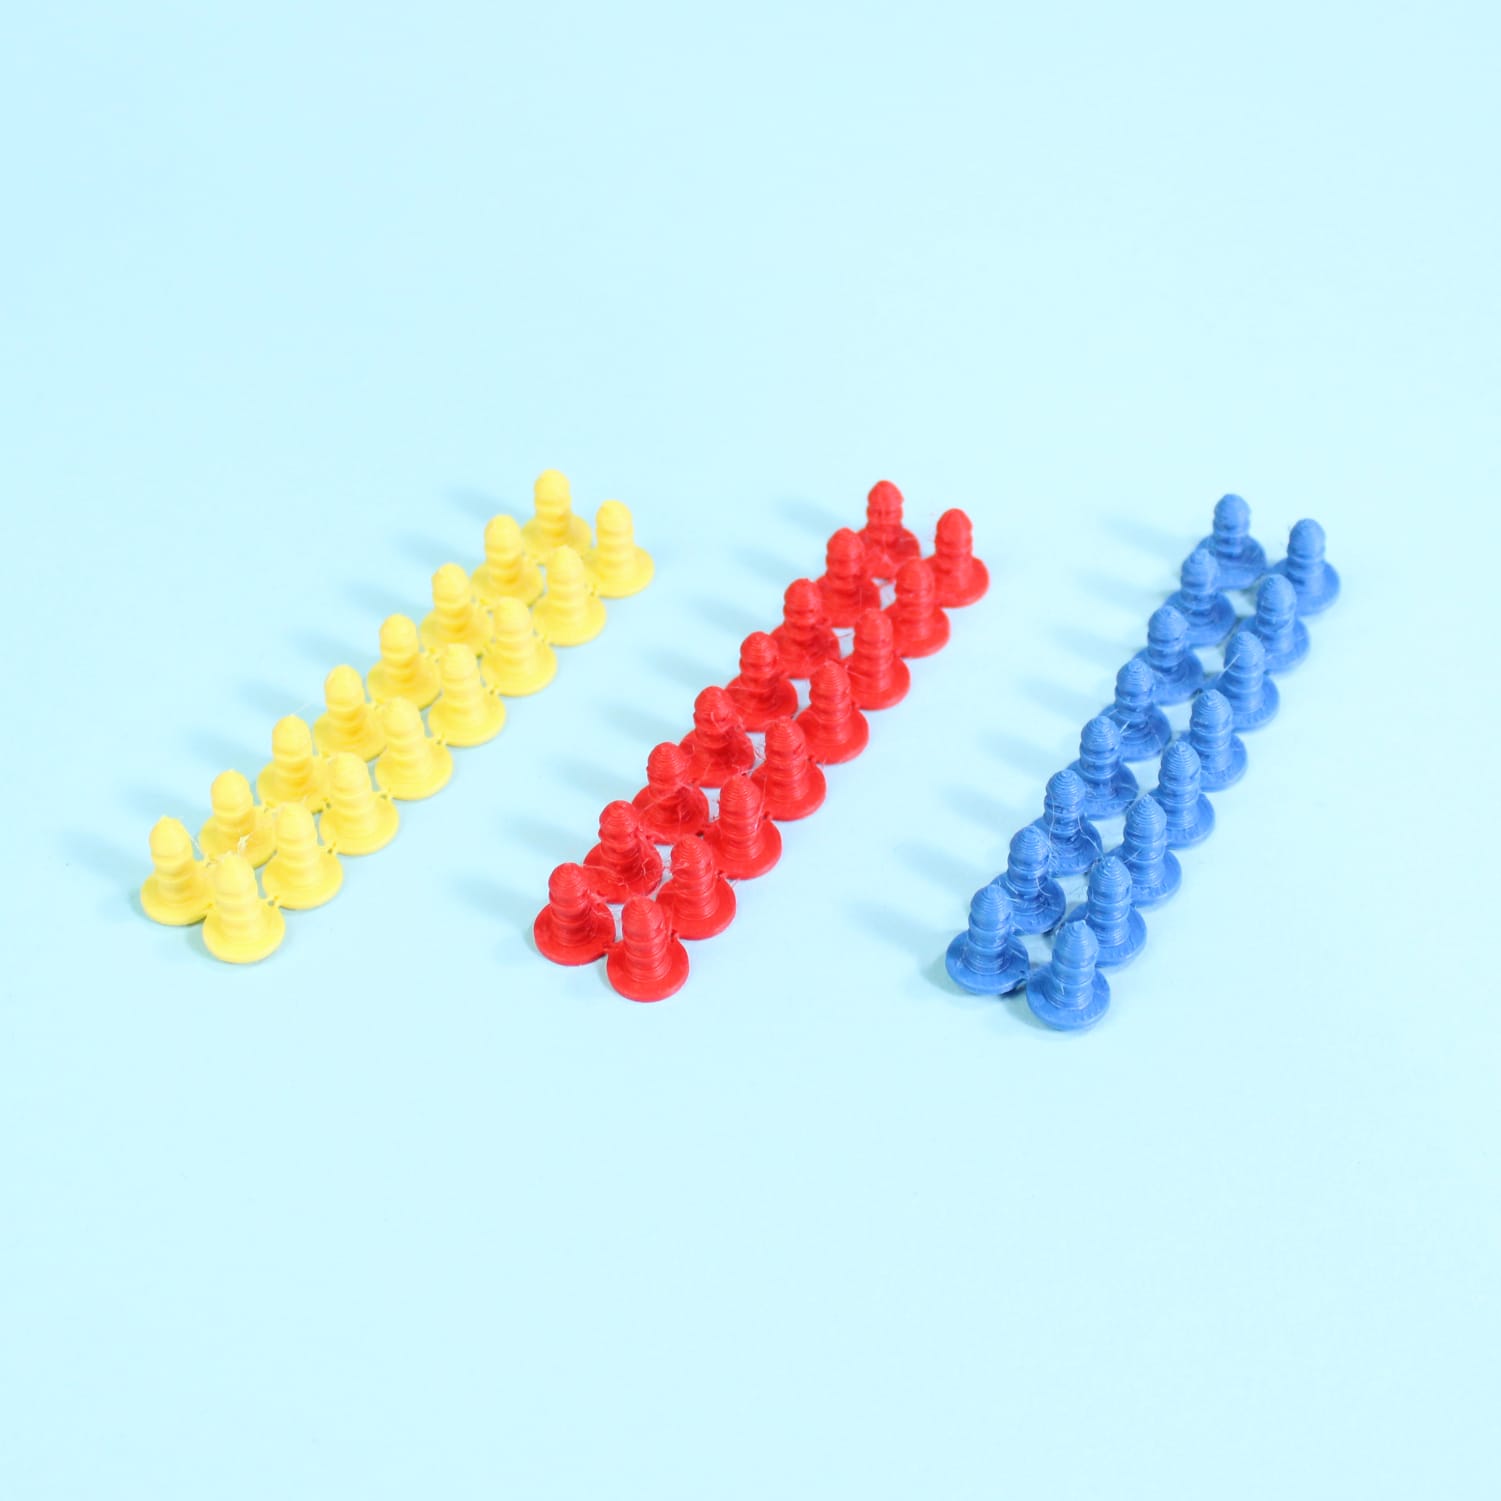 Cardboard Connectors Pack. Press-to-connect parts for making fixed pivots, moving joints and reusable cardboard connections.
Working with a group? We also make pre-packaged sets that include everything you need, so you are not counting out parts the night before.
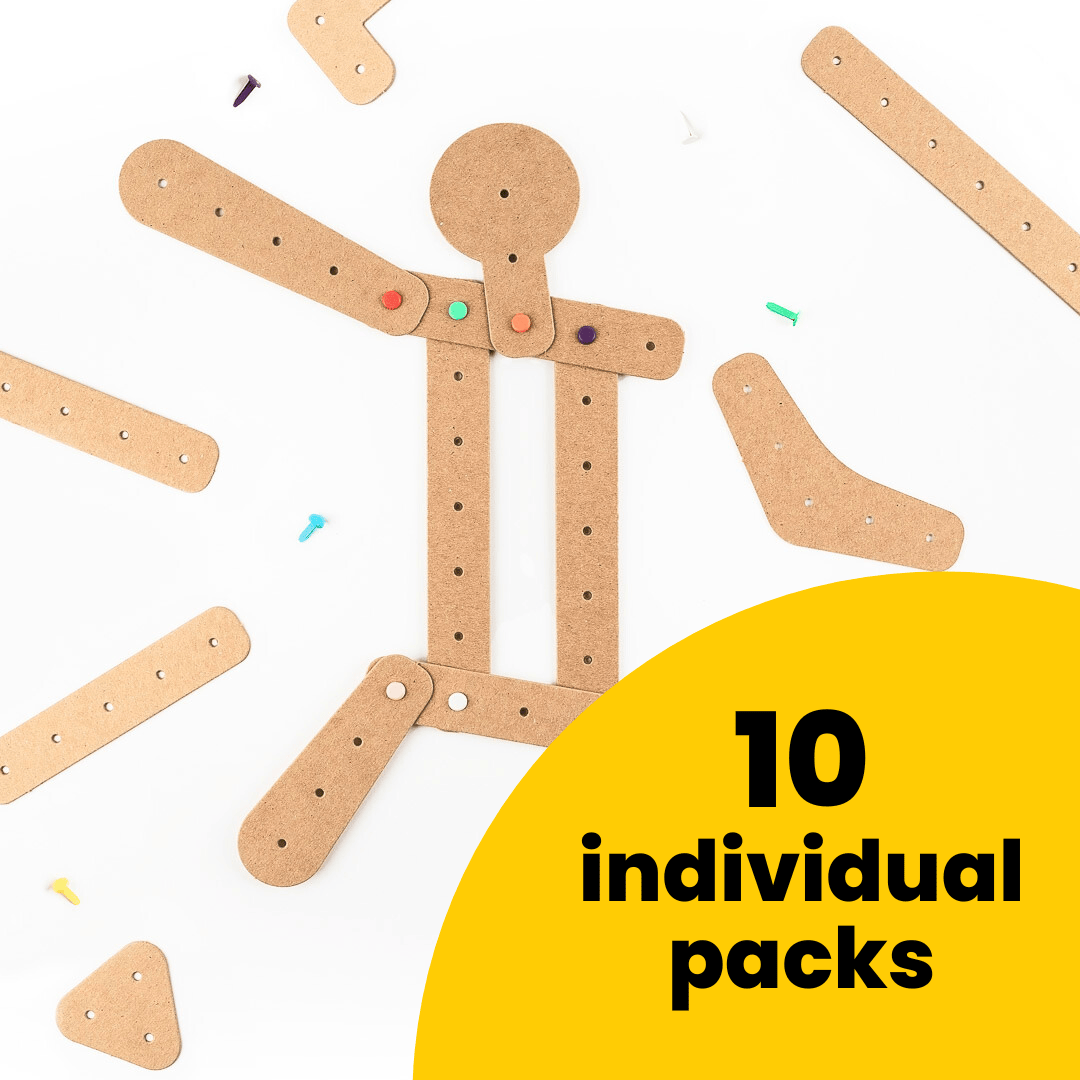 Linkages Small Group Pack, everything for 10 learners.
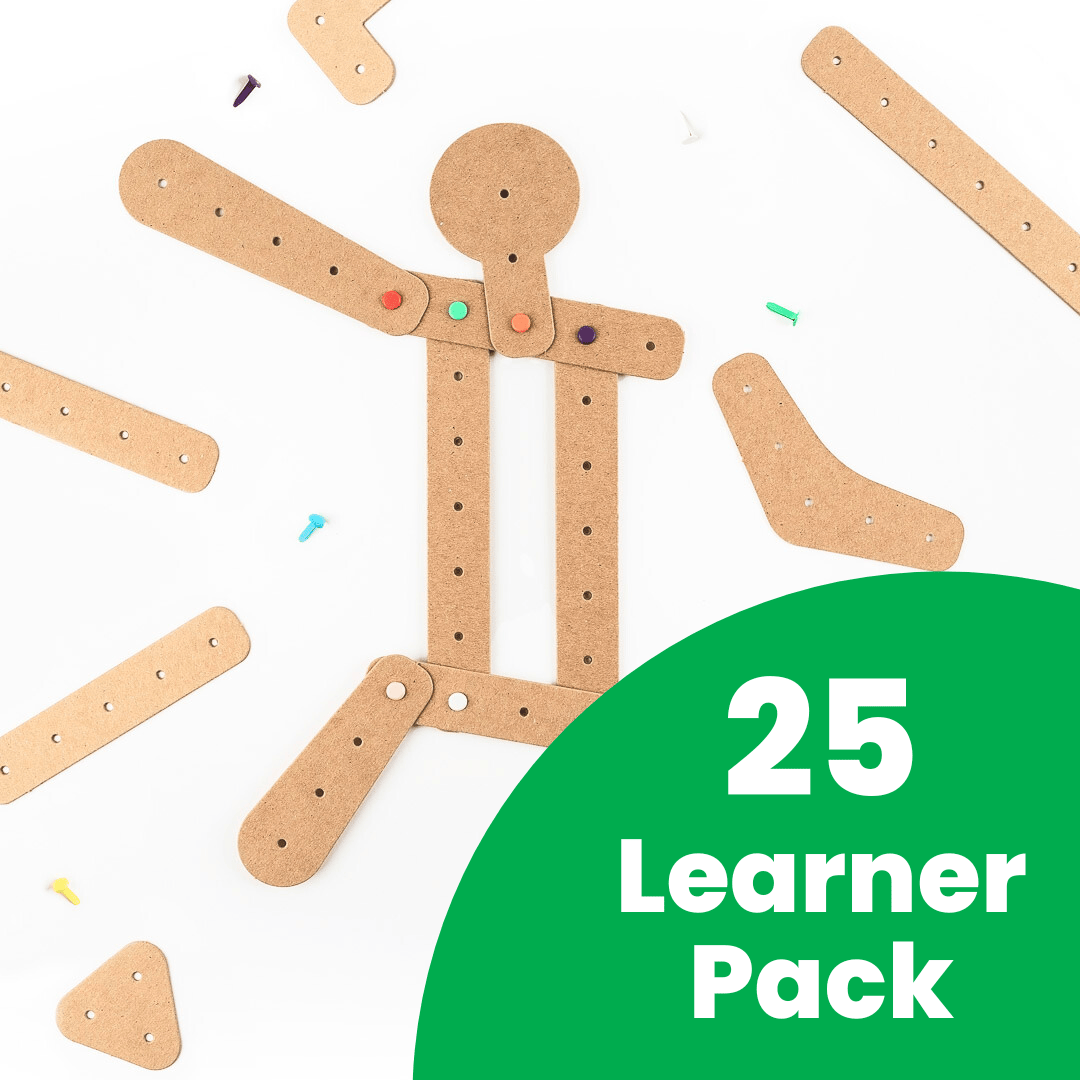 Linkages Class Pack, everything for 25 learners.
Show us what you made
One last thing. If you build one of these, we would love to see it. Share a photo or a video of your scene running and tag us @futuremakerkids on Instagram. We are always curious to see what learners come up with, and the ones that surprise us are our favourite thing to share.